Creating a custom Jupyter Lab GPU enabled tensorflow image
This page descirbes the steps needed to produce a tensorman image that has all the elements of an enviornment that uses the GPU and also has a suitable conda Jupyter enviroment.
Steps
sudo tensorman run -p 8889:8889 --root --gpu --python3 --jupyter --name jan bash
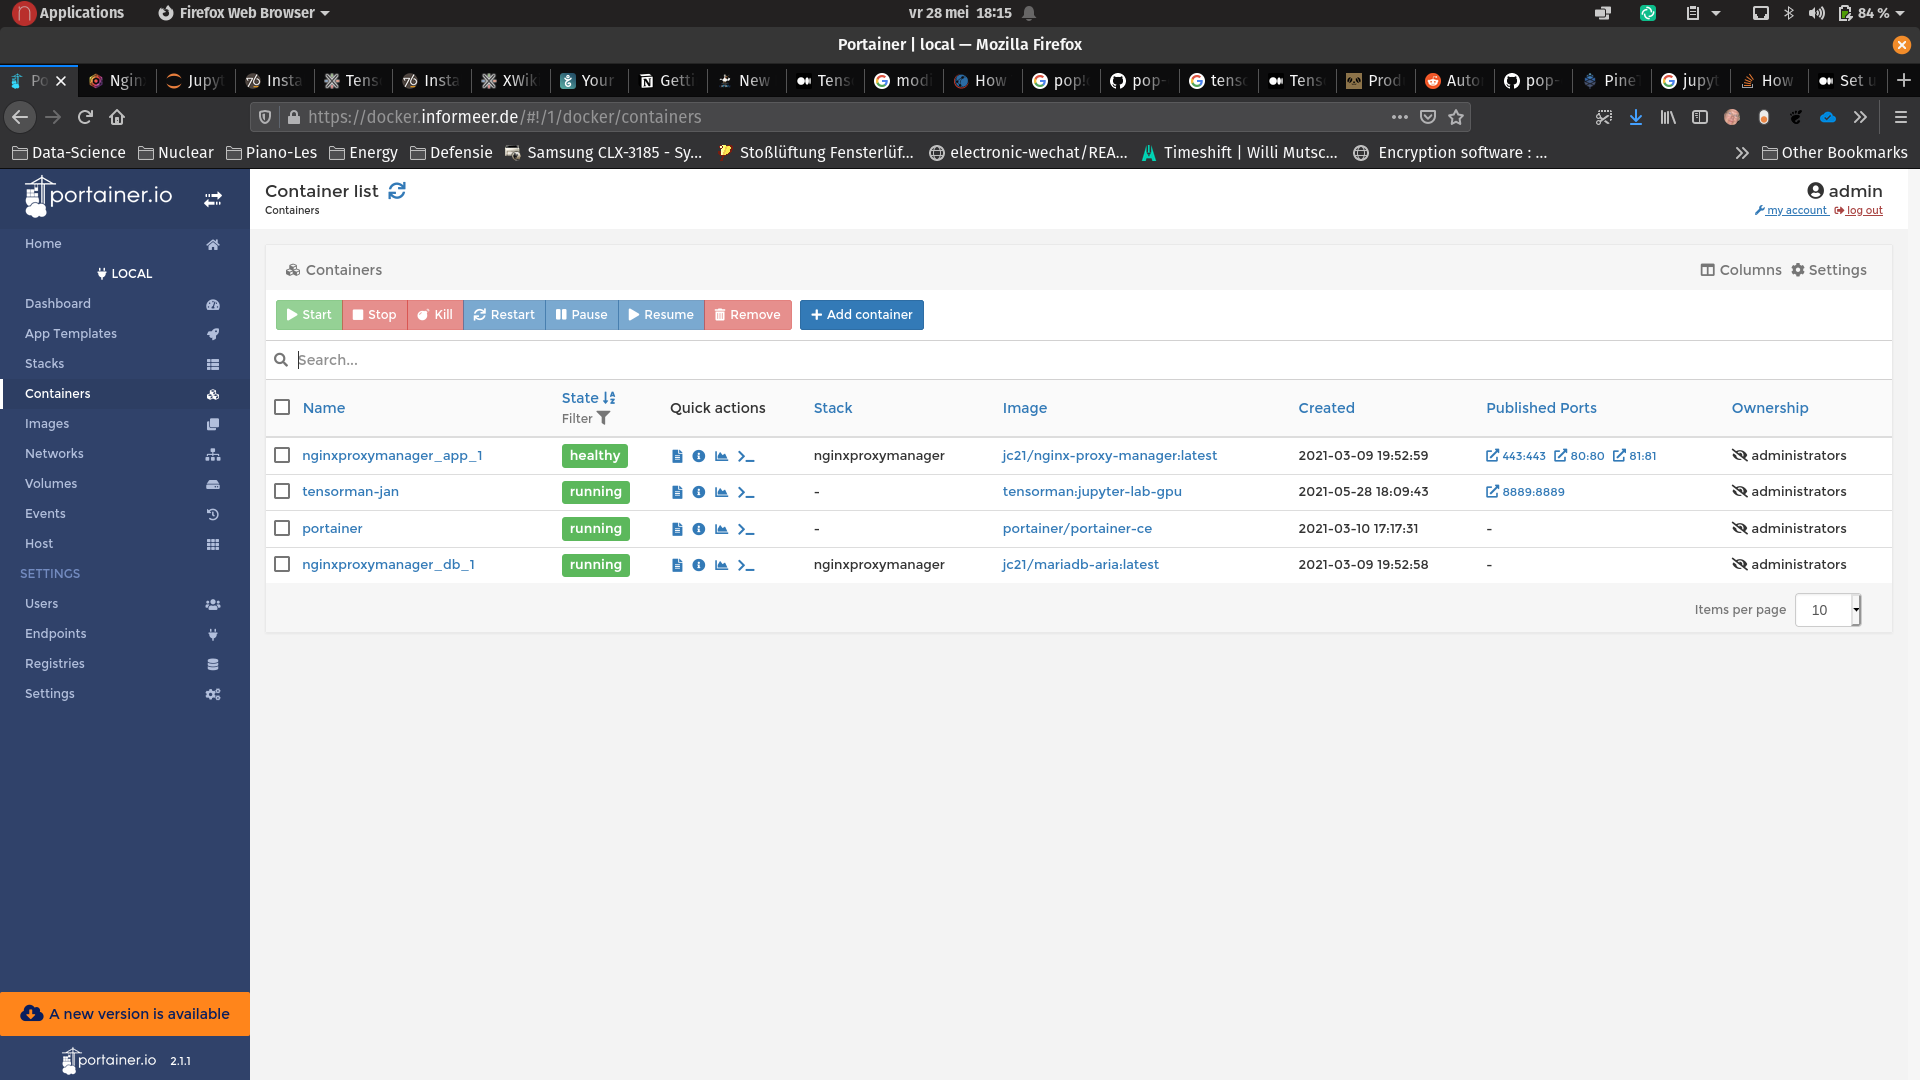
The port specified should be appropriately mapped to the outside using the nginxproxymanager. This specific port 8889 is assigned to user jan. Eventually the container will be visible (acessible) from https://jupyter-jan.informeer.de
Inside the running instance do the following:
apt update
apt install git
We need (want) to have git available later because we want to install git support in jupyter-lab hence git itself also needs to be available.
Apart from plain jupyter notebook we also want (actually prefer) jupyter lab. The tensorflow image has jupyter installed by means of pip hence we adopt the same procedure. After all this is a separate environment inside a docker image. We can still use conda for our actual working environments and packages. This is because the cwd is mounted under the /project volume.
pip install jupyterlab jupyterlab-git
Then from another terminal/console this:
tensorman save jan jupyter-lab-gpu
The first jan is the container name and the second jupyter-gpu is the image name (dfferent names can be chosen of course). This saves the container and makes the changes (installing git) persistent. Next we start the container as a regular user (has to be in docker group though). The --name $USER part is added to be able to identify it when multiples (different) instances are present.
When starting tensorman it will match the current working directory to the tensorman (docker) /project volume. If you choose to stare in $HOME this may cause interference with local configurations i.e. outside of tensorman (docker). To prevent this it is advised to start in a subdirectory of $HOME i.e. $HOME/project (although it can be any name). All subsequent actions from within the tensorman docker instance will use this as its $HOME. This means you can make a fresh conda install without affecting the one in the hosts $HOME.
mkdir $HOME/project
cd $HOME/project
tensorman =jupyter-lab-gpu run -p 8889:8889 --gpu --python3 --jupyter --name $USER bash
The --python and --jupyter may not be needed as they have already previously been incorporated in the saved image jupter-gpu.
Next we install conda in Tensorflow.
pip install conda
conda install numpy
conda install pandas
We clone the tensorflow doc git repos because it hold a few examples that we can use to test the setup:
mkdir tensorflow
cd tensorflow
git clone https://github.com/tensorflow/docs.git
To be able to demonstrate the tensorflow examples we install the following conda packages:
conda install keras-gpu
conda install matplotlib
Finally from the tensorman image bash prompt we excute:
jupyter lab --ip=0.0.0.0 --port=8889 --no-browser
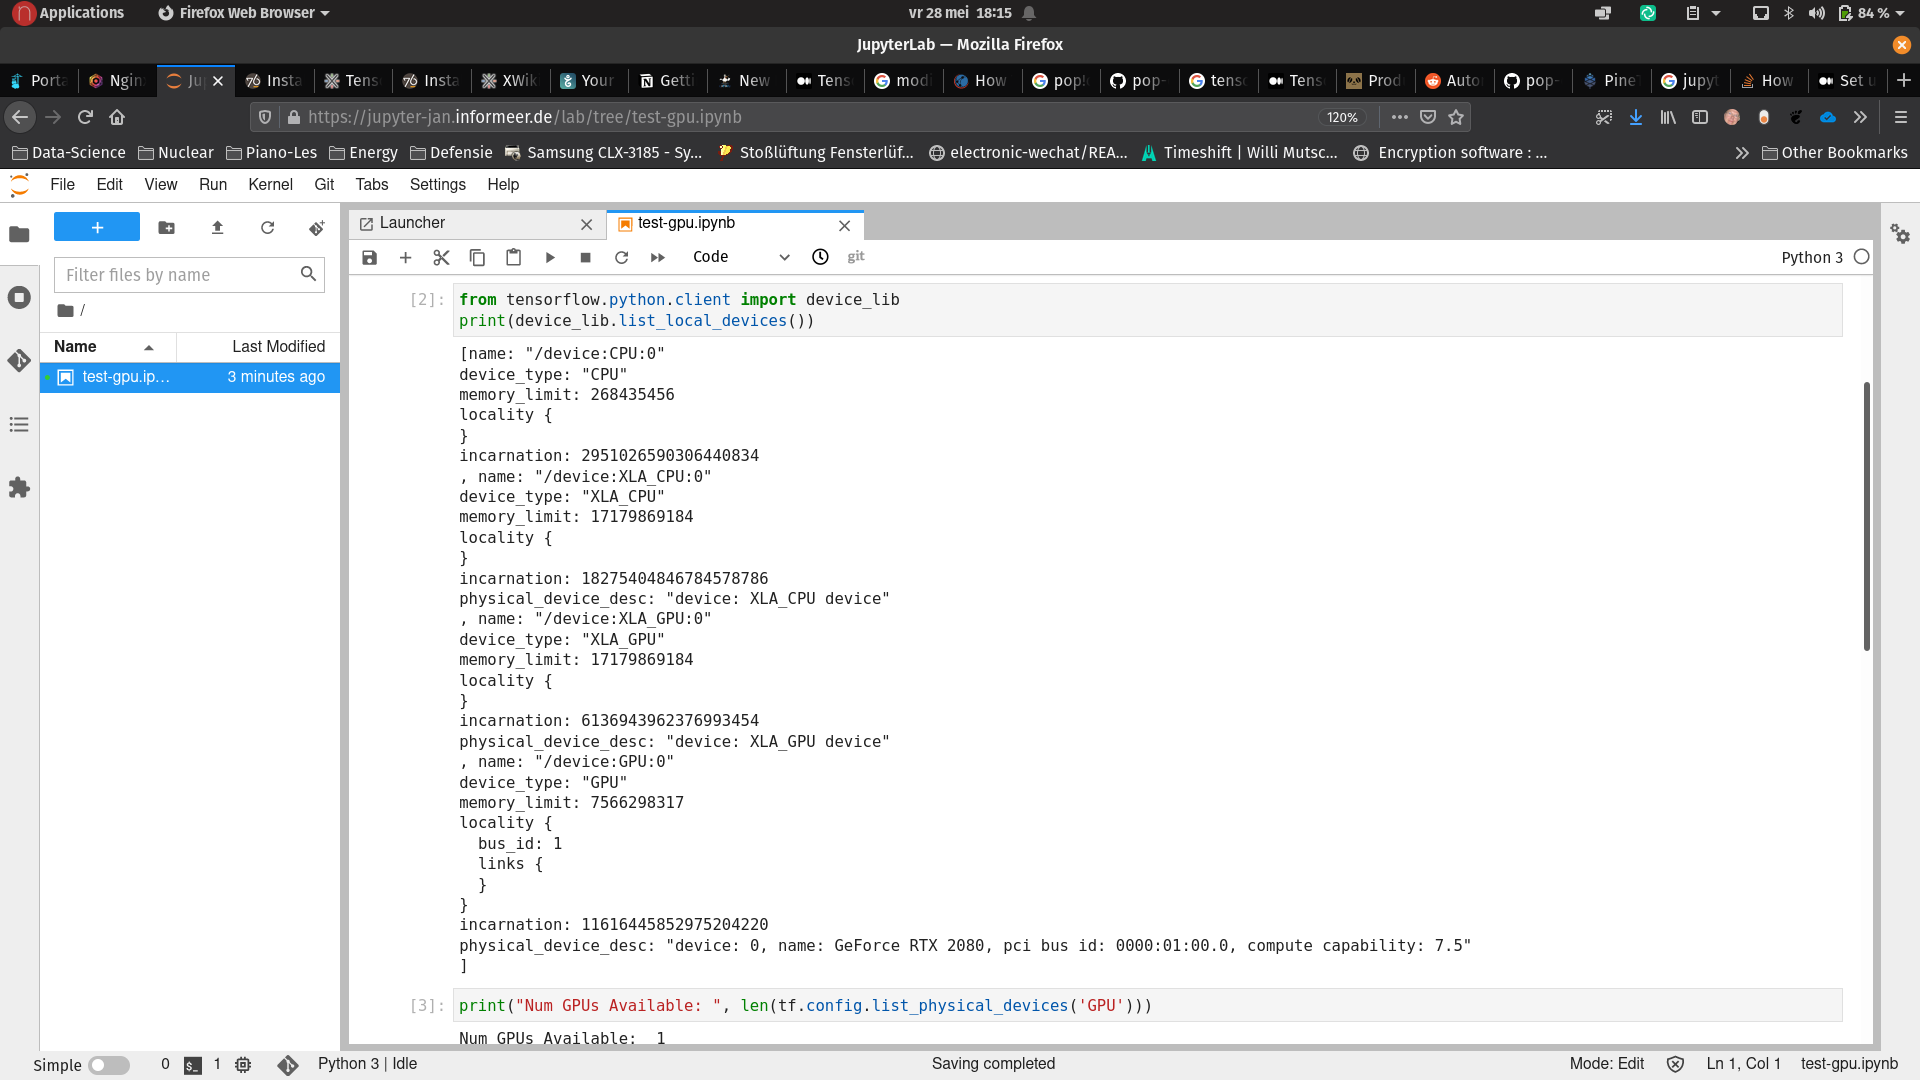
Now we can open the browser at https://jupyter-jan.informeer.de (or whatever we configured in the nginxproxymanager).
This demonstrates a canonical image classification problem. A basic test can be executed using this notebook:
https://jupyter-jan.informeer.de/lab/tree/source/tests/test-gpu.ipynb